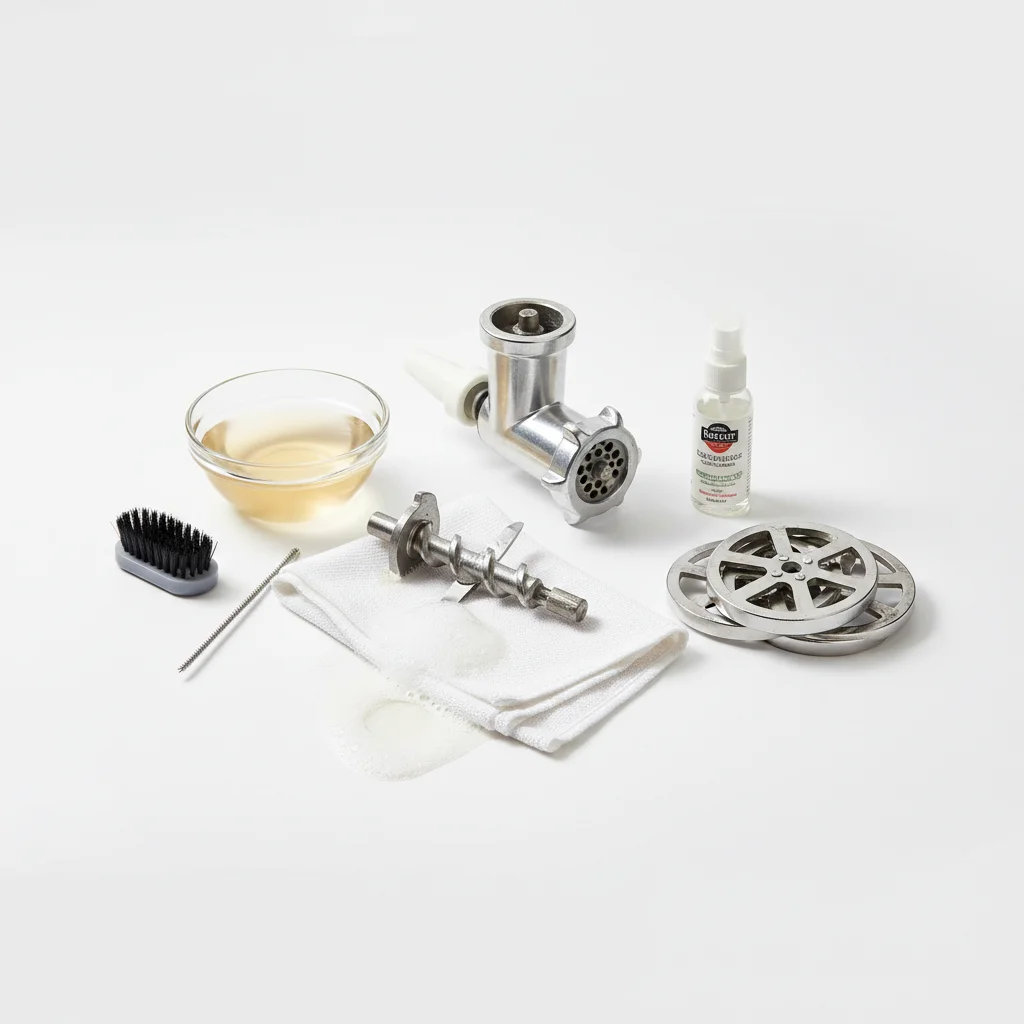
Effective meat grinder cleaning is crucial for both hygiene and extending the lifespan of your appliance. A thorough cleaning process involves disassembling the grinder, washing components with hot soapy water, sanitizing, and ensuring all parts are completely dry before reassembly. This guide will walk you through the essential steps to keep your meat grinder in pristine condition, preventing bacterial growth and maintaining optimal performance for years to come.
Why Proper Cleaning is Non-Negotiable
Beyond the obvious health implications of foodborne pathogens, neglecting to clean your meat grinder properly can lead to unpleasant odors, cross-contamination, and even damage to the machine itself. Residual meat particles can become lodged in crevices, fostering bacterial growth that is not only dangerous but also corrosive to metal parts over time. Regular cleaning ensures that every batch of ground meat is fresh and safe.
Step-by-Step Disassembly and Initial Rinse
The first step in any comprehensive cleaning routine is to safely disassemble your meat grinder. Unplug the unit, then carefully remove the grinding plate, blade, auger, and feed screw. For electric models, detach the grinding head from the motor housing. Immediately rinse all removable parts under cold running water. Cold water helps to prevent protein from cooking onto the surfaces, making it easier to remove later. Use a brush to dislodge any larger pieces of meat.
Thorough Washing and Sanitization
|
Our Picks for the Best Meat Grinder in 2026
As an Amazon Associate I earn from qualifying purchases.
|
||
| Num | Product | Action |
|---|---|---|
| 1 | AAOBOSI #12 Meat Grinder, [3000W] 3 Speed Meat Grinder Heavy Duty: Built-in Storage Box, 2 Blades,4 Plates,3 Sausage Stuffers,Kibbe Kit,Meat Claw & Burger Press, for Home & Kitchen Use |
![Check AAOBOSI #12 Meat Grinder, [3000W] 3 Speed Meat Grinder Heavy Duty: Built-in Storage Box, 2 Blades,4 Plates,3 Sausage Stuffers,Kibbe Kit,Meat Claw & Burger Press, for Home & Kitchen Use on Amazon](https://ReviewsSure.com/wp-content/plugins/amazon-tables/assets/images/buy.png)
|
| 2 | Cuisinart Electric Meat Grinder, Stainless Steel |
|
| 3 | Electric Meat Grinder, Sausage Stuffer with 3 Sausage Tubes, 2 Blades, 3 Plates, 3200W Max, Meat Grinder Heavy Duty for Home Kitchen Use, Stainless Steel (Black) |
|
| 4 | Meat Grinder, Electric Meat Grinder with Sausage Stuffer Maker & Kubbe Kit, Metal-Body Meat Mincer with 3 Stainless Steel Grinding Plates & 2 Blades for Home Kitchen Using |
|
| 5 | CHEFFANO Meat Grinder, 2600W Max Stainless Steel Meat Grinder Electric, ETL Approved Heavy Duty Meat Mincer Machine with 2 Blades, 3 Plates, Sausage Stuffer Tube & Kubbe Kit for Home Kitchen Use |
|
| 6 | Camic Electric Meat Grinder - 300W Sausage Stuffer for Home Kitchen Use Meat Mincer with Stainless Steel 3 Plates, 1 Blade, Sausage Tube, Kubbe Maker |
|
| 7 | Weston Electric Meat Grinder & Sausage Stuffer, #12 750 Watt, 1 HP Motor, Grinds 4 lbs Per Minute, Includes Stainless Steel Grinding Plates, Die-Cast Aluminum (33-1301-W) |
|
| 8 | VEVOR Commercial Electric Meat Grinder, 5 lbs/min Capacity, #8 Industrial Meat Mincer with 2 Stainless Steel Blades, 2 Grinding Plates, 600W Heavy-Duty Sausage Maker Stuffer, for Kitchen, Restaurant |
|
| 9 | AAOBOSI Meat Grinder Electric 3000W Max with Touch Color Screen, Auto-Reverse & Built-in Storage - 3 Speed Settings,Grinding, Sausage & Kibbe Making for Home Use, Stainless Steel |
|
| 10 | AAOBOSI Multifunctional Digital Meat Grinder Electric 3000W Max w/ 9 Touch Screen Presets, Auto-Reverse & Built-in Storage -Grinding, Sausage & Kibbe & Grate Cheese Making for Home Use |
|
Once the initial rinse is complete, wash all disassembled parts in hot, soapy water. A bottle brush or a specialized cleaning brush can be incredibly effective for reaching into tight spaces and removing stubborn residue. Pay close attention to the holes in the grinding plate and the edges of the blade. After washing, rinse everything thoroughly under hot water to remove all soap residue. For an extra layer of sanitation, you can soak metal parts in a diluted bleach solution (one tablespoon of bleach per gallon of water) for a few minutes, then rinse again meticulously.
Drying and Reassembly for Storage
Perhaps the most critical step in preventing rust and bacterial growth is ensuring all parts are completely dry before storage. Air drying is often insufficient; use a clean towel to hand-dry each component. For metal parts, consider a light coating of food-grade mineral oil to prevent rust, especially if you live in a humid environment or store the grinder for extended periods. Once dry, reassemble the grinder or store the parts in a clean, dry place. This meticulous drying process is key to the longevity of your appliance.
- Always unplug the grinder before cleaning.
- Use cold water for the initial rinse to prevent protein coagulation.
- Utilize a specialized brush for thorough cleaning of all components.
- Ensure all parts are completely dry to prevent rust and bacterial growth.
- Apply food-grade mineral oil to metal parts for rust prevention during storage.
Maintaining Your Grinder Between Uses
For frequent users, a quick clean after each use can significantly reduce the effort required for deep cleaning. Running a piece of stale bread or a few ice cubes through the grinder after processing meat can help push out residual particles. This simple trick can make the subsequent full cleaning process much easier and quicker.
Frequently Asked Questions
Why is proper meat grinder cleaning essential for health and longevity?
Proper meat grinder cleaning is essential to prevent foodborne pathogens, unpleasant odors, and cross-contamination. Neglecting cleaning can also lead to corrosive damage to metal parts, reducing the appliance's lifespan and ensuring every batch of ground meat is fresh and safe.
What is the first step in cleaning a meat grinder?
The first step in cleaning a meat grinder is to safely disassemble it. This involves unplugging the unit and carefully removing the grinding plate, blade, auger, and feed screw, then rinsing all removable parts under cold running water to prevent protein coagulation.
How do you sanitize meat grinder components effectively?
After washing with hot, soapy water, you can sanitize metal meat grinder parts by soaking them in a diluted bleach solution. Use one tablespoon of bleach per gallon of water for a few minutes, then rinse meticulously to remove all bleach residue.
How can I prevent rust on my meat grinder parts?
To prevent rust on meat grinder parts, ensure all components are completely dry before storage. Hand-dry each part with a clean towel, and consider applying a light coating of food-grade mineral oil to metal parts, especially in humid environments or for long-term storage.
What is a quick cleaning tip for frequent meat grinder users?
For frequent users, a quick clean after each use can significantly reduce deep cleaning effort. Running a piece of stale bread or a few ice cubes through the grinder after processing meat helps push out residual particles, making subsequent full cleaning easier.
How to Clean a Meat Grinder for Hygiene and Longevity
Follow these steps to thoroughly clean your meat grinder, ensuring hygiene and extending its operational lifespan.
Unplug the meat grinder and carefully remove all detachable parts: grinding plate, blade, auger, and feed screw. Rinse these components immediately under cold running water to prevent meat proteins from cooking onto the surfaces, which makes them harder to remove later. Use a brush to dislodge any large meat pieces.
Wash all disassembled parts in hot, soapy water using a bottle brush or specialized cleaning brush to reach tight spaces and remove stubborn residue. Pay close attention to the grinding plate holes and blade edges. For extra sanitation, soak metal parts in a solution of one tablespoon of bleach per gallon of water for a few minutes, then rinse thoroughly.
Ensure all parts are completely dry before storage to prevent rust and bacterial growth. Hand-dry each component with a clean towel, as air drying is often insufficient. For metal parts, apply a light coating of food-grade mineral oil to further prevent rust, especially if storing the grinder for extended periods or in humid conditions.
Once all parts are thoroughly dry, either reassemble the meat grinder or store the individual components in a clean, dry place. Proper storage after meticulous drying is crucial for maintaining the appliance's longevity and ensuring it's ready for safe use next time.

I used to dread cleaning my meat grinder because I was always worried I wasn’t doing it right. This guide broke down the process into such easy-to-follow steps. My favorite part was the reminder to ensure all parts are completely dry before reassembly; that’s something I often rushed before, and I can see how it could lead to issues.
This guide was a lifesaver! I always struggled with getting all the little bits out of my grinder, especially after processing venison. The tip about using a brush for the hard-to-reach crevices made a huge difference. My machine feels so much cleaner now, and I’m not worried about any lingering odors.
The drying part is key, and I appreciate the emphasis on it. My only minor complaint is that it didn’t really go into specific cleaning products for different materials, like if you have an aluminum vs. stainless steel grinder. Still, the general steps for disassembly and reassembly were very clear and helpful.
Good advice here. I’ve been grinding my own beef for years, but never really thought about sanitizing beyond just hot soapy water. Adding that step has given me more peace of mind, especially when I’m making large batches for the freezer. It’s a bit more work, but definitely worth it for preventing bacterial growth.